Vinyl siding has been a favorite for many homeowners for a long time now. One thing that makes this popularity possible is its ease of maintenance. You don’t almost always need professional help to keep your home exterior looking sleek. With a little know-how, you can pretty much repair it by yourself.
That’s exactly what you’ll find right here. Check out this quick guide to repairing vinyl siding so you can get straight to work without any troubles.
How to Know When Vinyl Siding Needs Repair
Yes, vinyl siding is durable. But it’s far from being indestructible. Falling branches or debris smashing into your home exterior may cause some damage. It may also expand and contract, especially during the winter, resulting in cracks and moisture-related issues. However, that’s no reason to worry. Fixing vinyl siding is easy and spotting the damages is even easier. Here are signs that your vinyl siding needs repairs:
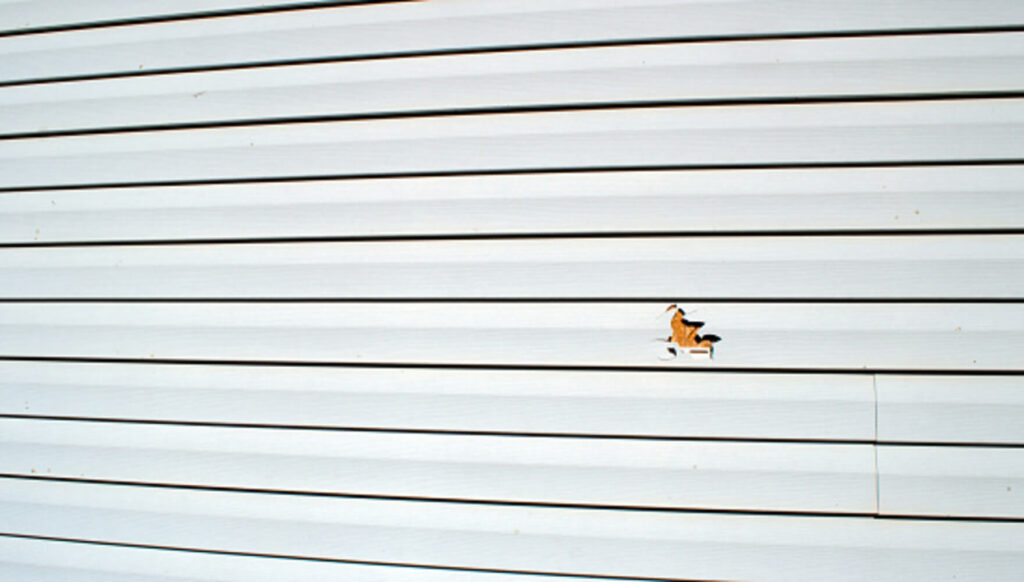
- No matter how small, chips, dents, and cracks in your vinyl siding can spell problems for your home, letting ants, termites, and water leak into your house.
- Loose siding may lead to water problems and mold and mildew growth due to unattended gaps somewhere between your vinyl siding.
- If you see panels warping and bubbling, it might be time to replace them to prevent further water damage.
- Mold and mildew growth are clear signs of moisture problems in your home. Beyond just scraping it off, it’d also be best to find the root cause and take care of it to avoid regrowth.
- Paint on vinyl siding lasts for quite a while. So if you notice that it takes frequent repainting, it likely means you have to replace your siding, as its waterproof layer may have already washed away.
- Rotting wood beneath the vinyl siding is perhaps the worst-case scenario, requiring extensive repair.
Vinyl siding needs check-ups and maintenance every once in a while. When you do, ensure to watch out for these signs. Remember to repair it as soon as possible to shut out additional damages so you can save time, money, and headaches.
Essential Tools and Supplies for Repairing Vinyl Siding
Luckily, you don’t need any expensive items to repair vinyl siding. Here is everything you must prepare beforehand to avoid delays while working.
- Caulk
- Caulking Gun
- Prybar
- Hammer
- Replacement Siding
- Tin Snips
- Tape Measure
- Utility Knife
- Zipper Tool
Once you have all the tools and materials required ready by your side, you’re all good to go.
How to Repair Vinyl Siding
The method for fixing vinyl siding depends on the size of the damage. The smaller, the faster it is to mend. Learn these three different ways to repair broken vinyl siding.
Repairing Small Vinyl Siding Holes
Whether it be from falling branches, debris, or baseball hitting your home, small holes are common on vinyl siding. Regardless of this, fixing them is a piece of cake. All it takes is a few cleaning supplies, some caulk, and a little effort.
To start, always make sure the surface is free from dirt and junk. Clean the damaged area using a soft cloth, water, and soap, and let it dry before you continue. This will guarantee that your repair sticks well. After it dries, you can now apply the caulk. Ensure that it matches the color of the siding, so it doesn’t stand out and ruin the appearance of your home. With a caulk gun, gently spread an even patch over the entire hole, slightly overfilling it to create an impermeable seal. Leave it to dry for at least a day and trim off the excess once it’s dried. If done right, it will seem like the hole was never there.
Patching Damaged Vinyl Siding
Some holes and cracks on vinyl siding are just too big that you’ll need to patch them to ensure it remains watertight and airtight. But don’t worry. It is still DIY-friendly.
Much like repairing smaller holes, the first thing you’ll have to do is clean the spot, so everything adheres properly. Preparing your vinyl siding patch comes next in line. Cut it up appropriately to the size you need to cover the hole. After that, place sufficient caulk on the back of your patch and around the damage. Slide the vinyl piece over the hole and seal it carefully, making a seamless edge. Let it dry for at least 24 hours, and check if the placement is strong and stable. Scrape off excess caulk and paint the patch if necessary.

Replacing Vinyl Siding Panel
Replacing a vinyl siding panel may seem intimidating at first, but it’s actually quite doable once you know what you’re doing.
Begin by separating the broken panel from the other siding. Use a zip tool to make the process more efficient. You can then take out the nails and screws with a hammer or a pry bar to detach the vinyl panel from the sheathing. This work can be tricky, so it’d be better to have someone help you. After this, cut the new vinyl siding with a saw or a utility knife to fit the damaged area. Carefully place the piece, ensuring it sits tightly between each panel. Attach with new nails and screws where you removed them before. Finally, secure your repair using your zip tool to hook the shingle to the new vinyl siding piece.
When to Call Professional Help
In most cases, you won’t need to call the pros to repair your siding. However, it might be wiser to call vinyl siding repair contractors for exceedingly large holes, rotting, or any major damages, especially one that concerns water problems. Of course, you can also ask them for help if you’re too busy or unsure of the job.
Conclusion
Repairs are necessary to keep your home strong and aesthetically pleasing. Fortunately, fixing vinyl siding is pretty DIY-friendly. Just follow the tips you’ve read here to transform your once-damaged siding to make it look good as new.

