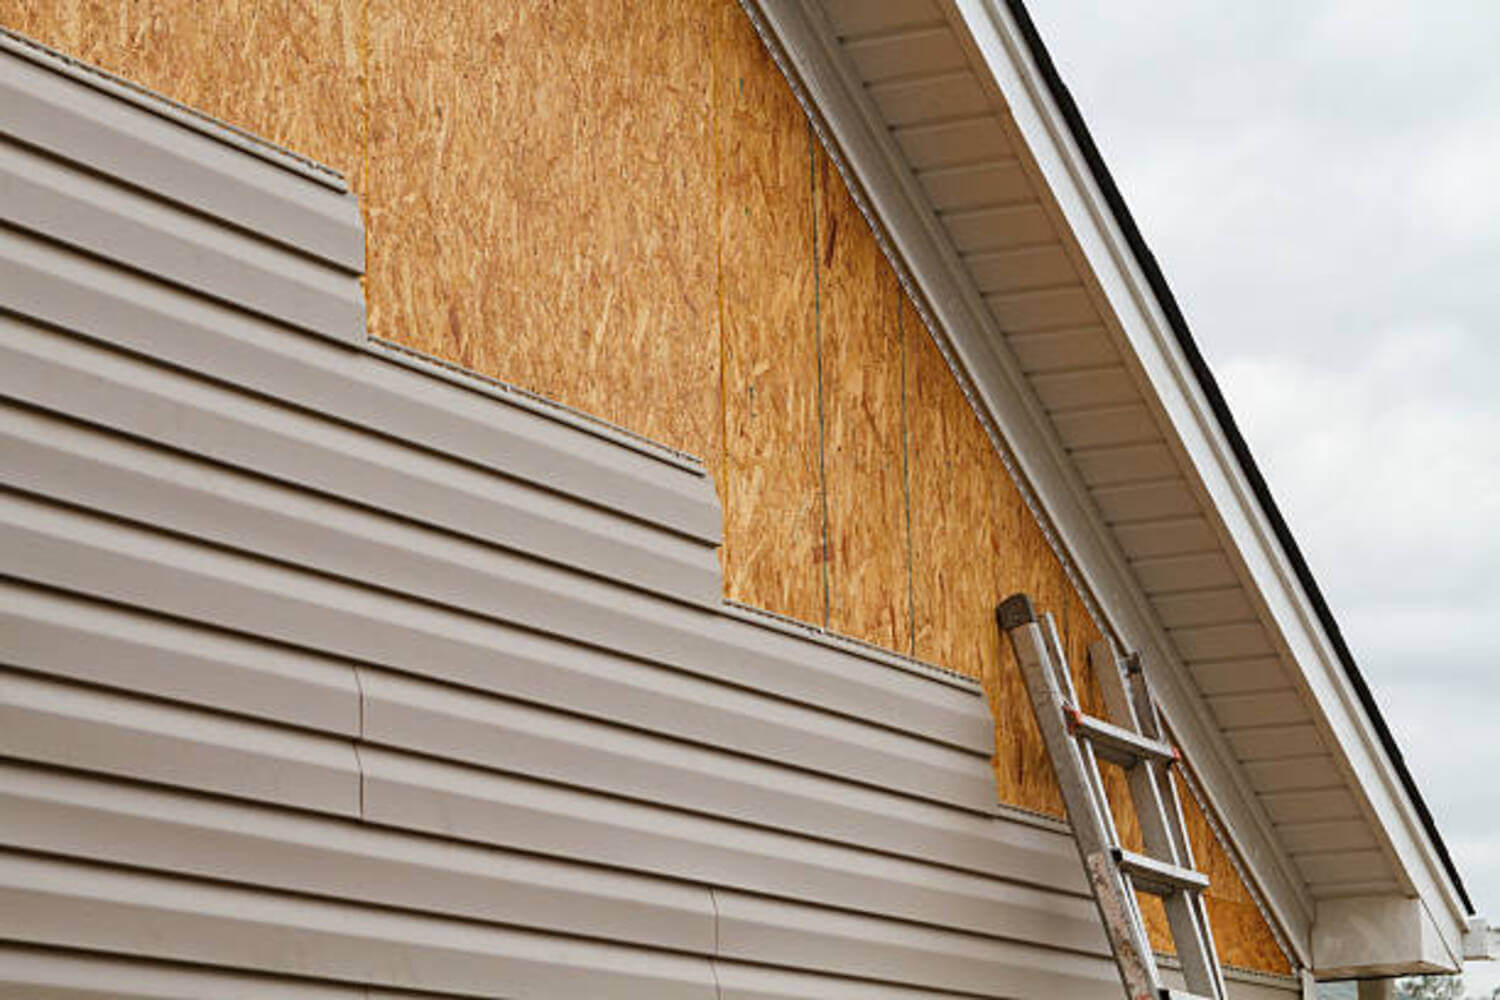
Proper installation is key to making a stronger, more beautiful home. Luckily, vinyl siding is among the easiest types of siding to install. But that is not to say that you can do it so effortlessly. It still takes some skill and knowledge to make sure it’s used to perfection.
For your convenience, here are some important vinyl siding installation tips so you know you’re doing the job correctly.
Consider Using a Wider Starter Strip
Starter strips are installed at the bottommost part of vinyl siding, covering your home’s foundation. It helps in protecting your house against the snow, rain, pests, and anything Mother Nature throws its way.
There are plenty of starter strip options to start your vinyl siding. Many homeowners opt for the thinner alternatives all because it’s cheaper. Sure, the price is quite tempting. But more often than not, this can be a mistake. Investing in 3 ½-inch starter strips is more advisable, which provides more security for your vinyl siding. Install it drooping at least 1 inch over your home’s foundation, and start your siding as low as possible. It works better the more foundation it covers.
Level it Appropriately
Imagine a home with slanted siding. Doesn’t look so good, does it? Avoid this problem by leveling out your vinyl siding before and during the process. Begin by snapping a level chalk line around your home, starting from the base and working your way up to the top as you continue your installation. Not only will this make things easier, but it will also guarantee the best results.
Use a Vinyl-Siding Blade
Avoid getting frustrated about shattering and destroying your vinyl siding. Use a specialized vinyl-siding blade instead. They’re specially made with teeth arranged backward to make a smoother cut. This way, you can work more efficiently and save yourself from all the headaches. But most importantly, it minimizes the risk of any danger. Vinyl-siding blades are also pretty affordable and are available in most hardware stores.
Flash Window Bottoms
You don’t want your window frames to rot because of water behind the J-channels. That’s why it’s important to flash the bottom corners of every window of your home before installing your vinyl siding. How do you do this? It’s simple. Cut out a piece of felt paper and secure it on both lower corners of your window, making sure it overlaps the row of siding directly below it. This will keep the water that goes inside the J-channel out to where it belongs.
Choose the Proper Nails
Using the proper nail is crucial when installing vinyl siding. You’ll need something that will firmly hold the siding in its place and remain strong against the weather for a long time. Galvanized roofing nails of at least two inches in length work best for this purpose. If your sheathing has foam on it, use longer ones. These nails won’t corrode easily under the weather, resulting in a longer-lasting home exterior.
Pull Up and Nail
If you don’t want your vinyl siding to fall apart suddenly, it’d be best never to forget this two-step process. Always remember to slightly lift each siding up as you nail them. This will lock the panels together, creating a strong home exterior. Don’t overdo it, though. Only apply enough force to avoid breaking the nailing flange.
Allow Room for Contraction and Expansion
As you may know already, vinyl siding contracts and expands in cold and warm weather. This is why it’s crucial not to lock it too tightly on the walls of your home. Doing this may cause the siding to buckle, leading to structural and aesthetic issues.
Fortunately, vinyl siding comes with pre-drilled holes for nailing. So, it’s fairly easy to see where to put your nails. Never drive nails elsewhere, as this may compromise its looks and function. Remember to place the nail in the middle of the hole. This will allow the siding to move properly as it contracts and expands. Also, don’t push the nails entirely against the wall, as this can hinder the siding from moving from side to side.
Fix Mistakes With a Zip Tool
Making a minor mistake when installing vinyl siding is not the end of the world if you have your trusty zip tool with you. Simply insert it below the bottom edge of the siding, hook it, and pull it down. You can then raise the siding and remove the nails that keep it locked. After that, you can replace or reposition the vinyl siding as needed and preferred.
The Bottom Line
Installing vinyl siding doesn’t always require the help of professionals. As long as you have enough time and know-how and are willing to put in the work, you can do it all by yourself. Just keep in mind your safety and follow these simple but essential tips as you work on installing vinyl siding in your home.